Setup Arduino Nano For ATtiny85 chip and Development Module Programming
FYI: I have tested ATtiny85 development module(see figure 1) with only using USB cable, but the first attempt fail by just following this link. It forgets its code after power cycle. It is because the installed bootloader in ATtiny85 was not installed properly. After using below procedure, I have programmed ATtiny85 successfully. For some development board (see figure 2), that can be program by USB cable without using Arduino, it is because it has proper version of bootloader installed before shipping from seller.
I fail setting up ATtiny85 for a long time just because of I did not familiar with the bootloader issue. Hope this procedure help someone who encounter the similar problem today. Good luck!
 |
| Figure 1. Many of them do not have proper pre-installed bootloader. |
 |
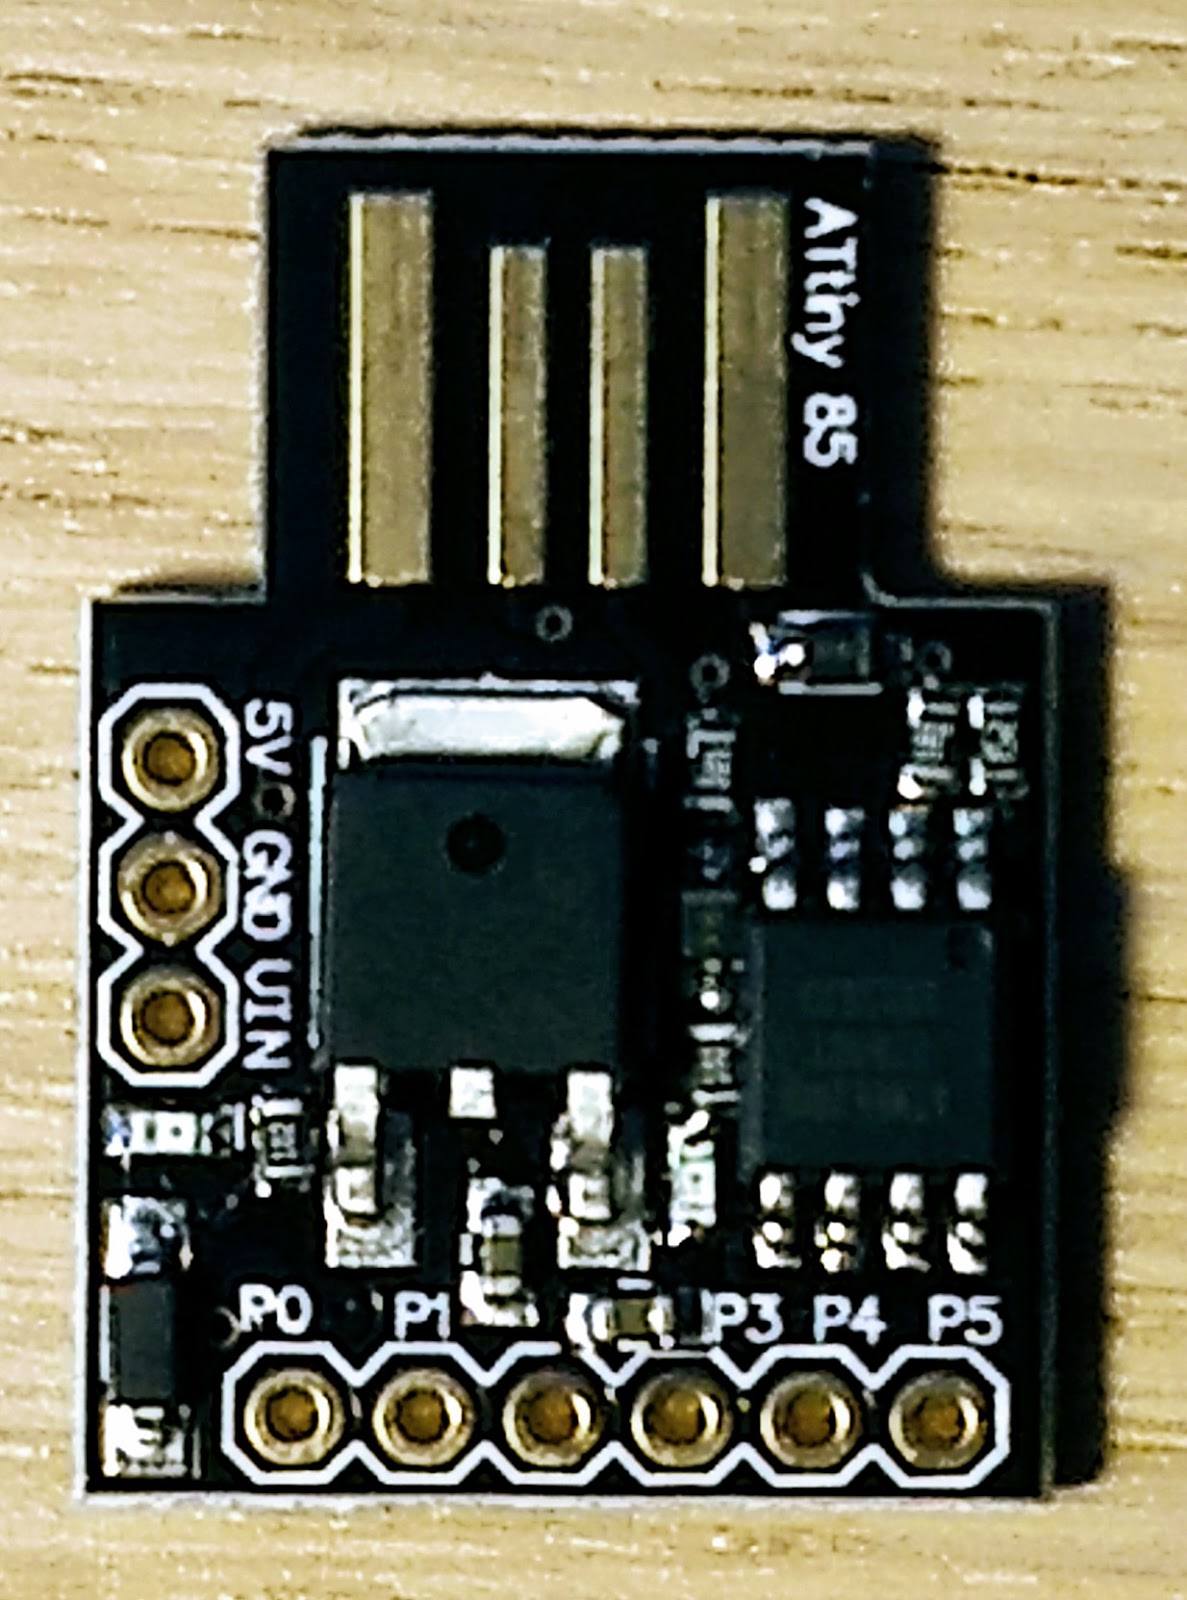
| Figure 2. |
Material:
- Arduino Nano
- ATtiny85 chip or its development board
- Wires
- LED module
Top Level Procedure:
- Connect Arduino Nano and ATtiny85.
- Option 1: Connect to the ATtiny85 chip only
- Option 2: Connect to ATtiny85 development chip
- Setup ArduinoISP in Arduino Nano board.
- Setup and burn "Bootloader" to ATtiny85
- Upload program to ATiny85 by Arduino IDE via Arduino Nano
Detail Procedure:
Step 1:Connect Arduino Nano and ATtiny85:
 |
| Pin is for the ATtiny chip, PCINT is for the development module. |
 |
| Pin layout form ATtiny85 Datasheet. |

Program ATtiny85 chip. Its pin 6 connect to an LED module.

Program a ATtiny85 on Micro USB Development Board. Pin number (P0 ~ P5) is based on PINCT pin configuration.
Step 2: Setup ArduinoISP in Arduino Nano Boar:

2. IDE: Tool --> Board --> Board Manager. Search and install "attiny by David A. Millis"

3. IDE: Files-->Examples-->ArduinoISP-->ArduinoISP
4. IDE: Tool-->Board; choose "Arduino Nano", "ATmega328P", and its COM port.
5. Click "Upload" to program Arduino Nano.
Step 3: Burn Bootloader to ATtiny85:
- IDE: Tool-->Board-->Choose "Attiny 25/45/85"
- IDE: Tool-->Processor-->Choose "Attiny 85"
- IDE: Tool-->Clock-->Choose "Internal 8MHz"
- IDE: Tool-->Programmer choose "Programmer as ISP"
- Click IDE:Tool-->"Burn Bootloader"

- IDE: File--:Example-->Basic-->choose "Blink"
- IDE: Change "LED_BUILTIN" to 1
- Upload using programmer. or write code to ATtiny85: Press "Shift" on keyboard and then click "Upload".
- Check with LED and see if pin 7 is blinking.
- Power cycle (unplug and re-plug usb) the board, and see if LED still blinking, if yes, you have successfully upload and burn code to ATtiny85.
- Done!
 |
| When "Shift" is pressed, and mouse over "Upload" button, you will see "Upload Using Programmer" on IDE. It is important!! |
 |
| Test Setup |
Note:
What if you forget to burn bootloader or do not having proper version bootloader installed. You will see below error message when you try to write program to ATtiny85:

========================================
================ Side Project ===============
========================================
Use below table, and add LED on each channel, you can build programming module. It is great addition to your inventory when you need to program ATtiny85 frequently. It can be powered by external source. Sometime, If Arduino Nano's pin are interference with ATtiny85, you may see some pins are acting funny. The solution is using external power source and remove Arduino Nano.


Program ATtiny85 Chip

Programming ATtiny85 Development Module
No comments:
Post a Comment